Instant Pot Mac and Cheese (Creamy, One-Pot, 20 Minutes)
Rich and creamy Instant Pot mac and cheese made entirely in one pot — no draining, no roux, no baking. Elbow macaroni pressure-cooks right in the sauce for a 20-minute dinner that rivals stovetop from-scratch.

This is mac and cheese that takes twenty minutes, dirties one pot, and comes out creamier than most stovetop versions. The Instant Pot cooks the pasta directly in seasoned water, and the starchy liquid it leaves behind becomes the base of the sauce — no draining, no roux, no separate cheese sauce.
We tested this side by side with a traditional stovetop bechamel version. The Instant Pot version was ready in half the time and the texture was just as smooth. The trick is the pasta starch. When elbow macaroni cooks under pressure in a measured amount of water, the starch concentrates instead of getting poured down the drain, and that starch is what binds the cheese into a sauce that clings to every noodle without separating.
Why This Recipe Works
- No draining means the starch stays. The measured water absorbs into the pasta and concentrates, giving you a built-in thickener that replaces the flour-and-butter roux in traditional recipes.
- Pressure cooking is hands-off. Four minutes under pressure with a quick release keeps the elbow macaroni tender without going mushy — no stirring, no watching the pot.
- Three cheeses build layers. Sharp cheddar brings flavor, mild cheddar or Colby Jack adds smoothness, and cream cheese gives the sauce body and a silky finish.
Ingredient Notes
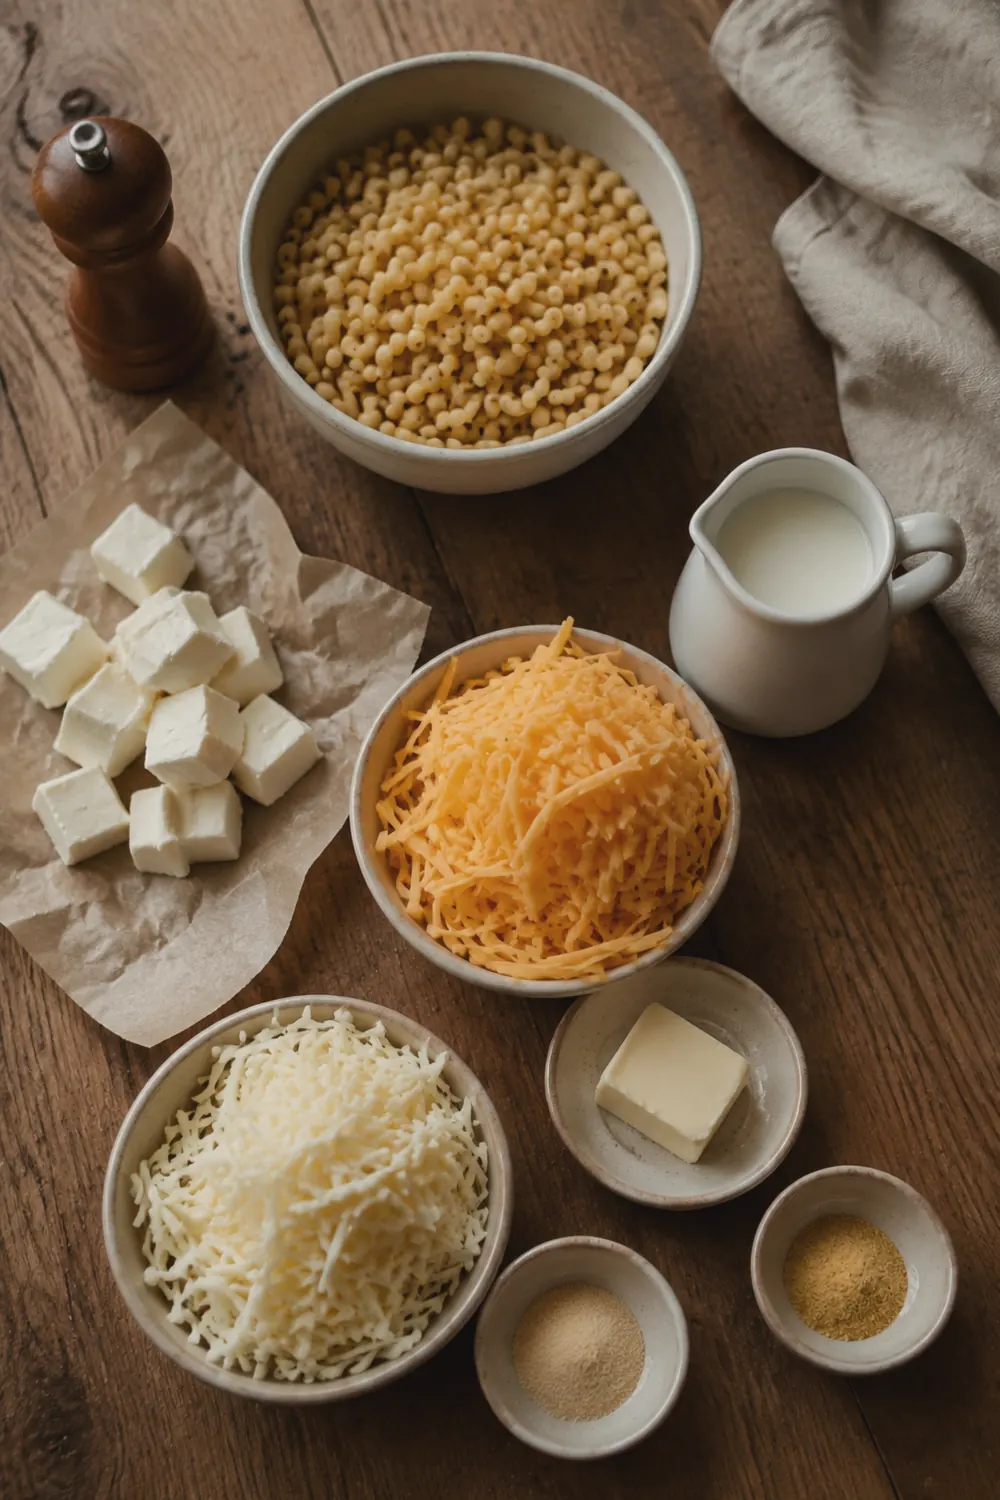
Simple grocery-list ingredients, but the details matter for the best texture.
- Elbow macaroni: Classic elbows work perfectly with the 4-minute cook time. Shells and cavatappi need an extra minute. Avoid long pasta like penne — it clumps under pressure and cooks unevenly.
- Sharp cheddar: Pre-shredded from a bag works but contains anti-caking starch that can make the sauce slightly grainy. Block cheese shredded fresh melts smoother. Use sharp or extra-sharp — mild cheddar alone makes a bland sauce.
- Cream cheese: Two ounces of cream cheese sounds small but it transforms the texture from watery-cheesy to thick and velvety. Cut it into small cubes so it melts fast when you stir it in.
- Whole milk: The fat in whole milk helps emulsify the cheese smoothly. Two percent works in a pinch but the sauce will be thinner. Skim milk tends to break and get greasy.
How to Make Instant Pot Mac and Cheese
The full amounts and times are in the recipe card below.
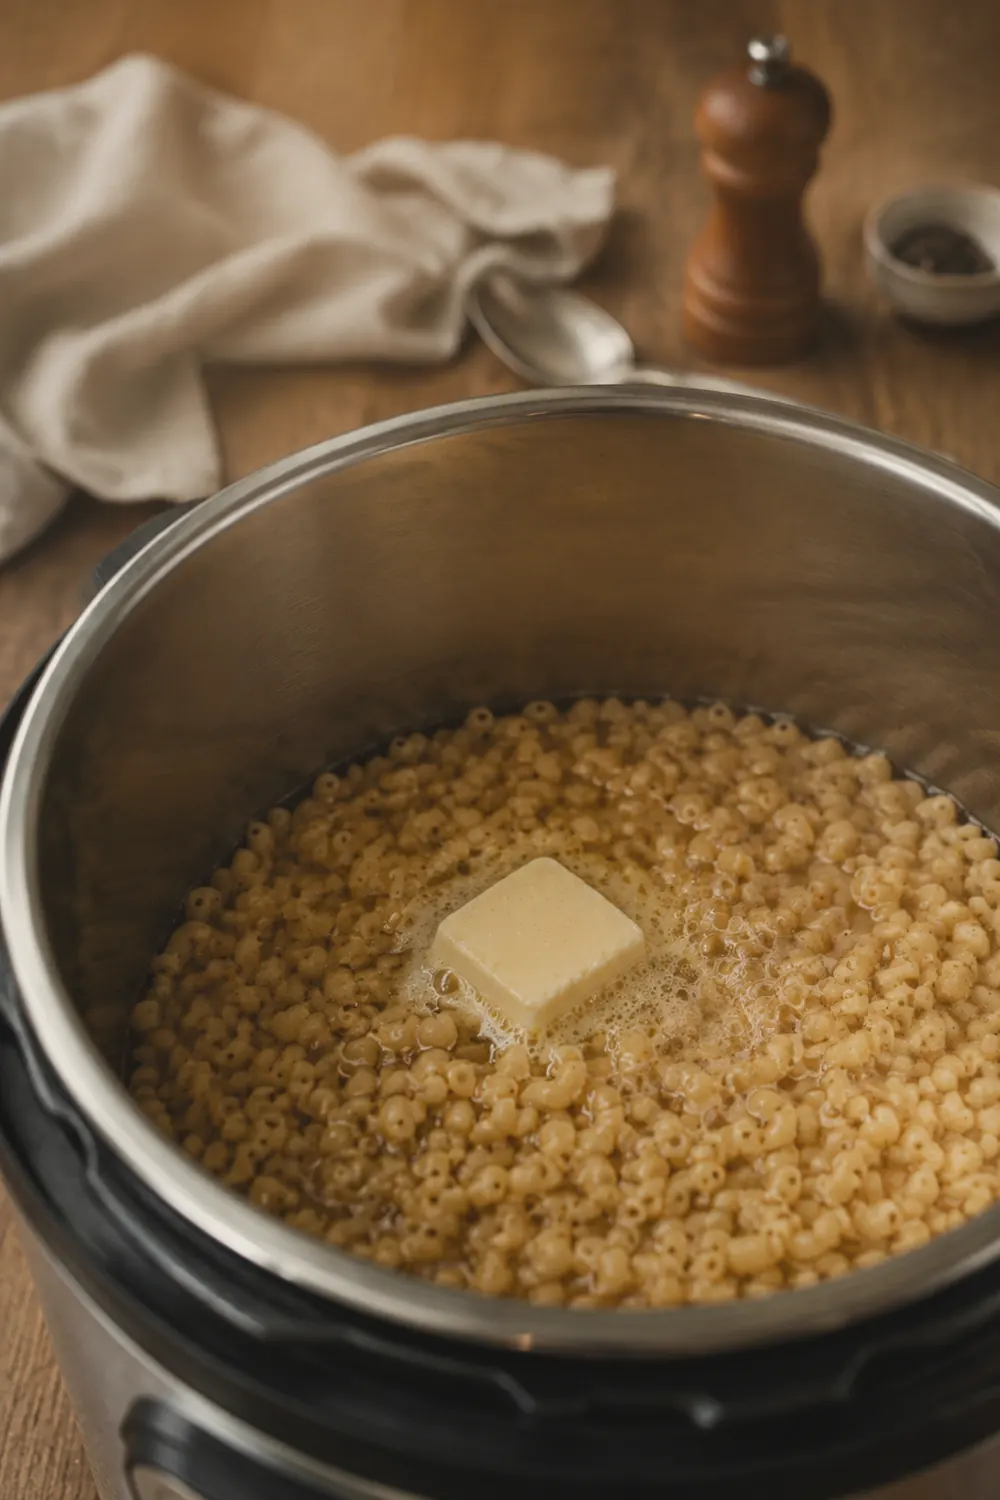
Step 1: Pressure cook the pasta. Add the dry macaroni, water, butter, and seasonings to the Instant Pot. Stir once so nothing sits above the water line. Lock the lid, set to Sealing, and cook on High Pressure for 4 minutes. The pasta absorbs most of the water, leaving a concentrated starchy liquid at the bottom.
Step 2: Quick release and stir in all the cheese. Turn the valve to Venting for a quick release. Open the lid — the pasta will look soupy, which is exactly right. Stir in the warmed milk and cream cheese cubes until the cream cheese dissolves completely. Then add the shredded cheddar one handful at a time, stirring after each addition until fully melted. The sauce thickens and turns glossy as the cheese combines with the starchy pasta water.

Pro Tips
- Do not skip the warm milk. Cold milk dropped into hot pasta and cheese can cause the cheese to seize and turn grainy. Microwave the milk for 30 seconds or warm it in a small pot while the pasta cooks.
- Stir the cheese in off pressure. Never add cheese before the pressure cook — it scorches on the bottom and turns stringy. Always add dairy after the lid comes off.
- Serve within 10 minutes. Mac and cheese thickens as it sits. If it gets too thick, stir in a splash of warm milk to loosen it back up. Reheated leftovers always need a little extra liquid.
- Use the right amount of water. Four cups for one pound of pasta is the tested ratio. More water means a thinner sauce because the starch gets diluted. Less water risks a burn notice.
Variations
- Smoky bacon mac: Stir in 4 slices of cooked crumbled bacon and a pinch of smoked paprika after the cheese melts.
- Buffalo chicken mac: Fold in 1 cup shredded cooked chicken and 3 tablespoons of hot sauce. Top with crumbled blue cheese.
- Broccoli cheddar mac: Steam 2 cups of broccoli florets separately and fold them in at the end. The broccoli stays bright green instead of turning army-green under pressure.
- Jalapeño popper mac: Add 2 tablespoons of pickled jalapeño slices and swap half the cheddar for pepper Jack.
Storage & Reheating
Mac and cheese keeps in an airtight container in the fridge for up to 4 days (USDA guideline for cooked pasta with dairy). It thickens considerably when cold — this is the starch setting up, not a sign that anything went wrong.
To reheat, add a splash of milk (2-3 tablespoons per serving) and microwave in 30-second intervals, stirring between each, until heated through to 165°F (USDA safe reheating temperature). Stovetop reheating over medium-low with a little milk works too — stir constantly to prevent sticking. Do not freeze — the cheese sauce breaks and turns grainy when thawed.
FAQ
Can I use a different pasta shape?
Elbows, small shells, and cavatappi all work. Shells and cavatappi need 5 minutes instead of 4 under pressure. Avoid long shapes like spaghetti or fettuccine — they clump together and cook unevenly in the pot.
Why did I get a burn notice?
The most common cause is not stirring before sealing. If pasta sits on the bottom in a dry layer, the Instant Pot detects scorching and shuts off. Make sure everything is stirred so the pasta is submerged, and always use the full 4 cups of water.
Can I double this recipe?
Yes, in a 6-quart Instant Pot you can go up to 1.5 pounds of pasta with 6 cups of water. Keep the same pressure time. A full double batch (2 pounds) needs an 8-quart pot — the 6-quart fills past the max line and can clog the valve.
What to Serve With
This pairs well with almost any protein. Try it alongside our Instant Pot Chicken and Gravy for a full comfort-food spread, or with Air Fryer Chicken Breast for a lighter main. A simple green salad or steamed broccoli rounds it out.
Instant Pot Mac and Cheese (Creamy, One-Pot, 20 Minutes)
Rich and creamy Instant Pot mac and cheese made entirely in one pot — no draining, no roux, no baking. Elbow macaroni pressure-cooks right in the sauce for a 20-minute dinner that rivals stovetop from-scratch.
- Prep
- 5 min
- Cook
- 15 min
- Total
- 20 min
- Servings
- 6
- Calories
- 485
Ingredients
Instructions
- Add the elbow macaroni, water, butter, salt, garlic powder, mustard powder, and black pepper to the Instant Pot inner pot. Stir once so the pasta is mostly submerged and no pieces are stuck above the water line. Lock the lid, turn the steam valve to Sealing, and cook on High Pressure for 4 minutes.
- When the timer beeps, do a quick release by turning the steam valve to Venting immediately. Stand back from the steam. Remove the lid — the pasta will look slightly soupy with starchy liquid at the bottom. This is normal and expected; the starch is what makes the sauce creamy without a roux.
- While the pot is still on the Keep Warm setting, stir in the warm milk and the cubed cream cheese until the cream cheese melts completely. Then add the shredded cheddar cheeses one handful at a time, stirring between additions until each handful is fully melted and smooth before adding the next. The sauce will thicken as the cheese melts into the starchy pasta water. Taste and add more salt if needed.
Filed under: pasta · cheese · american
Crisp & Simmer
Easy weeknight recipes, organized by method. Every recipe is built on tested methods and safe-temperature standards — and corrected fast when readers tell us something's off.